How To Cover Stretch Marks with Makeup?
Stretch marks are a natural and common part of life. Whether they appear due to pregnancy, growth spurts, weight fluctuations, or other reasons, many people look for ways to conceal them temporarily for special occasions or a confidence boost. While there’s nothing wrong with having stretch marks, if you choose to cover them, makeup can be a simple and effective option.
In this article, we'll explore step-by-step how to cover stretch marks with makeup, focusing on preparation, product layering techniques, and setting methods to achieve a flawless, natural finish.
Understanding Stretch Marks and Their Texture
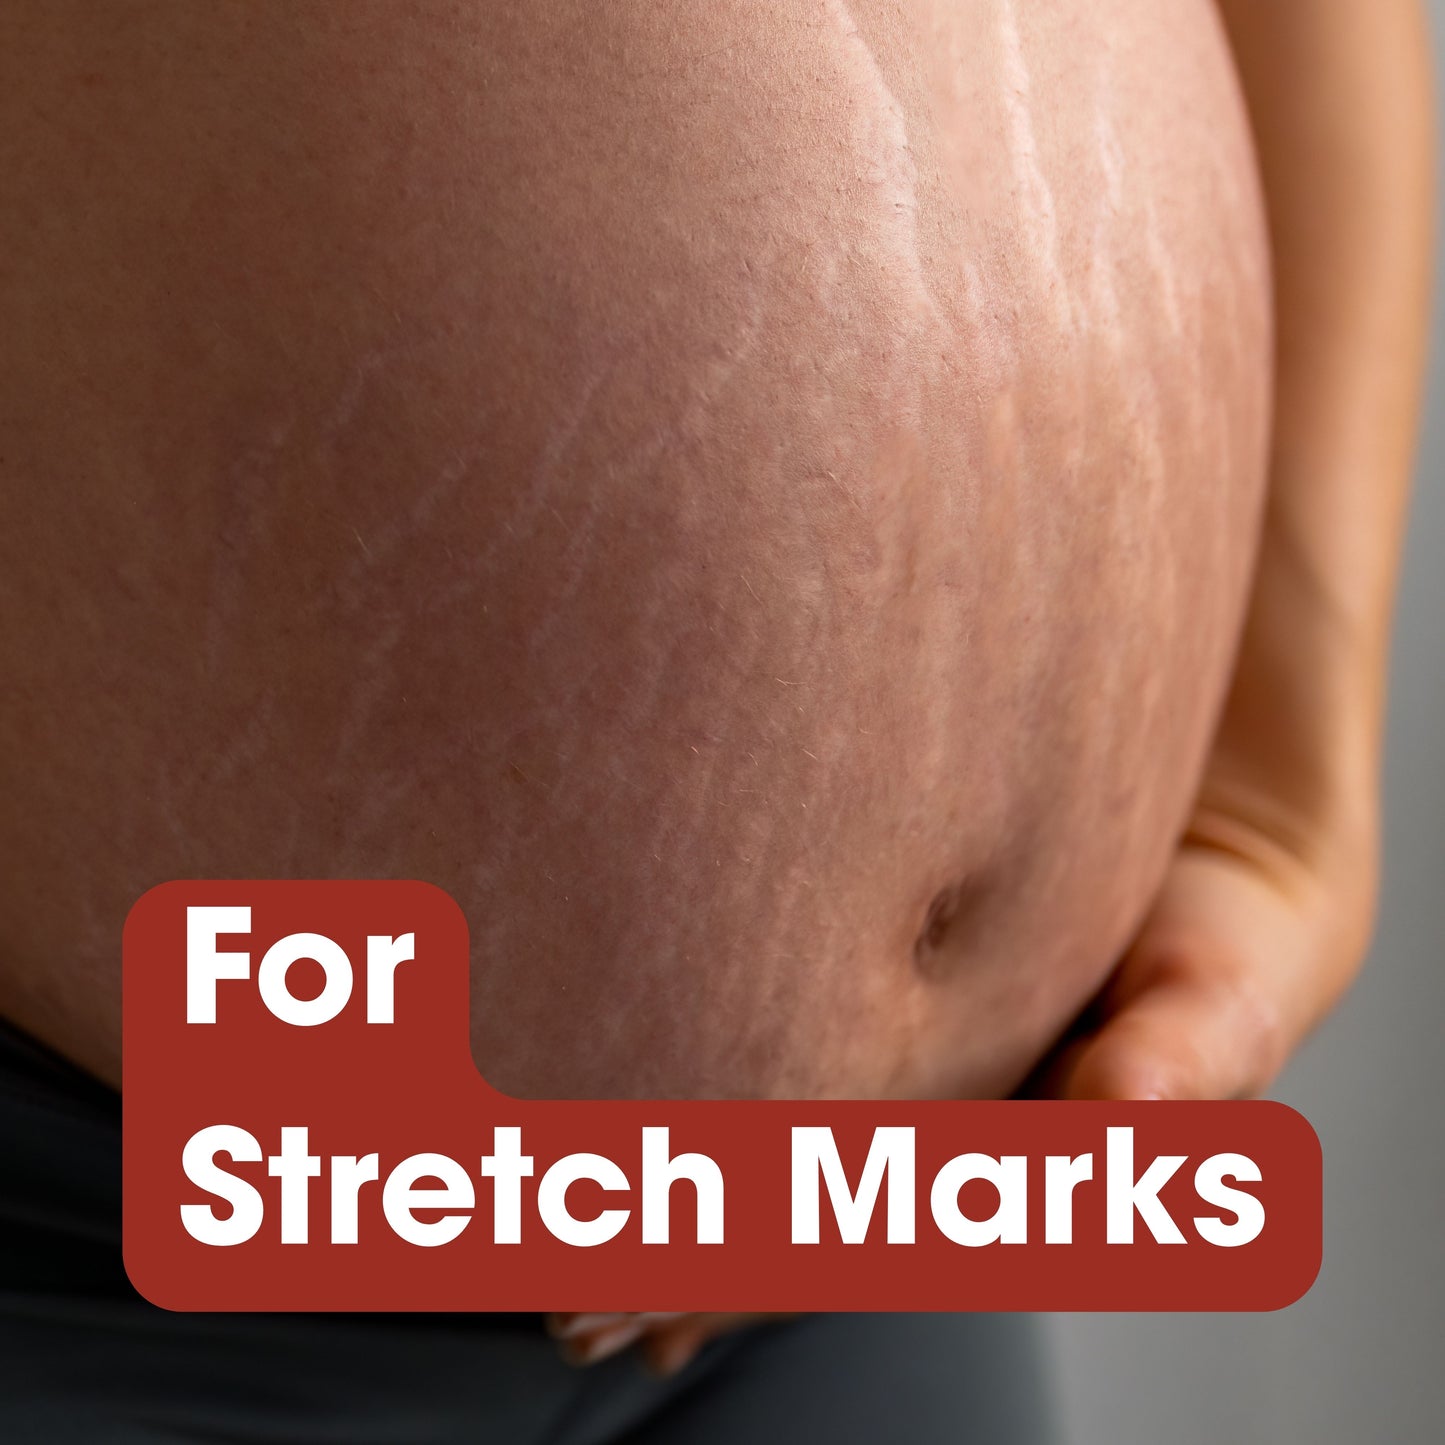
Stretch marks, or striae, occur when the skin stretches rapidly and the collagen and elastin in the skin break down. They often appear as slightly raised or indented streaks and can be red, purple, or silvery depending on age and skin tone. Because of their unique texture and color, standard makeup applications might not fully conceal them unless done correctly.
Covering stretch marks isn’t just about color correction; it’s also about dealing with the surface texture. That’s why skincare preparation plays a crucial role before any makeup touches the skin.
Step 1: Prep. the Skin
Start with clean, exfoliated skin. Use a gentle scrub to remove dead skin cells around the stretch marks. This helps in creating a smooth canvas and improves makeup adherence.
Next, apply a lightweight, hydrating moisturizer. Moisturized skin reduces patchiness and helps makeup blend better. Allow the moisturizer to fully absorb before moving on to the next step.
If you plan on exposing the area to sun or bright lights, consider using a sunscreen that doesn’t leave a white cast. This not only protects your skin but prevents flashback in photographs.
Step 2: Prime for Better Coverage
Primers are often overlooked but can make a significant difference in longevity and smoothness. Choose a silicone-based primer if your stretch marks have a textured surface. This can help fill in the uneven areas slightly and create a more uniform surface for makeup application.
Apply the primer using your fingers and gently press it into the skin rather than rubbing. Let it sit for a minute before moving to the next step.
Step 3: Color Correct If Needed
Depending on your skin tone and the color of your stretch marks, a color corrector may be necessary. Here’s a basic guide:
- Red or Purple Stretch Marks: Use a green color corrector to neutralize the redness.
- Blue or Dark Stretch Marks: A peach or orange corrector works best on deeper tones.
- White or Silver Stretch Marks: These are usually older and may not require much color correction. Focus more on blending and matching the surrounding skin.
Use a small synthetic brush or a fingertip to dab the color corrector directly on the stretch marks. Avoid spreading it too wide. Let it dry for a few seconds before layering foundation or concealer.
Step 4: Apply Full-Coverage Foundation
Choose a foundation that closely matches your natural skin tone. Liquid or cream-based full-coverage foundations work best for stretch marks. Avoid powder-only foundations as they tend to cling to texture and can accentuate stretch marks rather than conceal them.
Use a damp makeup sponge or a dense kabuki brush to stipple the foundation onto the skin. Avoid dragging or swirling motions. Focus on building up coverage gradually. Applying thin layers and letting each layer set for a few seconds helps maintain a natural appearance.
Repeat the application if needed, but be careful not to overdo it, as too much product can look cakey.
Step 5: Use Concealer for Extra Coverage
Once the foundation is set, use a concealer that is one shade lighter than your foundation to brighten the area slightly and add more coverage. Dab it gently over the stretch marks, focusing on the areas that are still visible.
Blend carefully using a small beauty sponge or your fingertip. Let it melt into the foundation without disturbing the underlying layers.
Step 6: Set the Makeup
Setting the makeup is crucial to ensure it lasts throughout the day and doesn’t rub off on clothing. Use a translucent setting powder to lock the foundation and concealer in place.
Lightly dust the powder using a large fluffy brush. Avoid using too much product as it can make the skin appear dry or overly matte, especially on textured areas.
For extra staying power, finish with a setting spray. This helps meld all the layers together and reduces any powdery finish.
Extra Tips for Better Results
- Waterproof Products: If you’re planning to be outdoors or sweating, opt for waterproof or sweat-resistant formulas to prevent transfer.
- Test on a Small Area: Always do a patch test if you’re using a new product to avoid irritation.
- Body Makeup: If covering stretch marks on areas like thighs, arms, or stomach, consider using makeup specially formulated for the body, which tends to be more pigmented and long-lasting.
- Clothing Considerations: Wear loose-fitting clothes while the makeup sets to avoid smudging or transferring onto fabric.
Final Thoughts
Makeup is a versatile tool that can help enhance your confidence when you want to conceal stretch marks for a special moment. With the right preparation, technique, and products, you can achieve a smooth and natural look that stays in place and complements your skin tone.
Remember, stretch marks are completely normal and a testament to your body’s growth and change. Covering them is a personal choice—whether you choose to flaunt or hide them, confidence is what truly stands out.
Also Read: Which Oil Is Good for Skin Whitening & Stretch Marks Removal?
